
Learn how to throw a lasso like a pro!
A lasso is an important tool for cowboys and ranchers, but it can also be a lot of fun for anyone who wants to learn how to use it. With the right instruction, you can throw a lasso like a pro in no time.
Our comprehensive guide will teach you everything you need to know about this essential piece of equipment. Read on to learn more!

What is a Lasso?
A lasso is a length of rope with a loop at one end. It is used to catch cattle or other animals by their feet and can also be used for recreation or as a tool for pulling or carrying heavy objects. It is also sometimes called a rope or a lariat. You can make lassos out of rope, or other materials, such as wire or rawhide.
The word “lasso” comes from the Spanish word “lassar,” which means “to bind.” The Spanish and Mexican vaqueros originally used lassos, or cowboys, to catch wild cattle. American cowboys and ranchers later adopted them as a tool for herding and branding livestock.
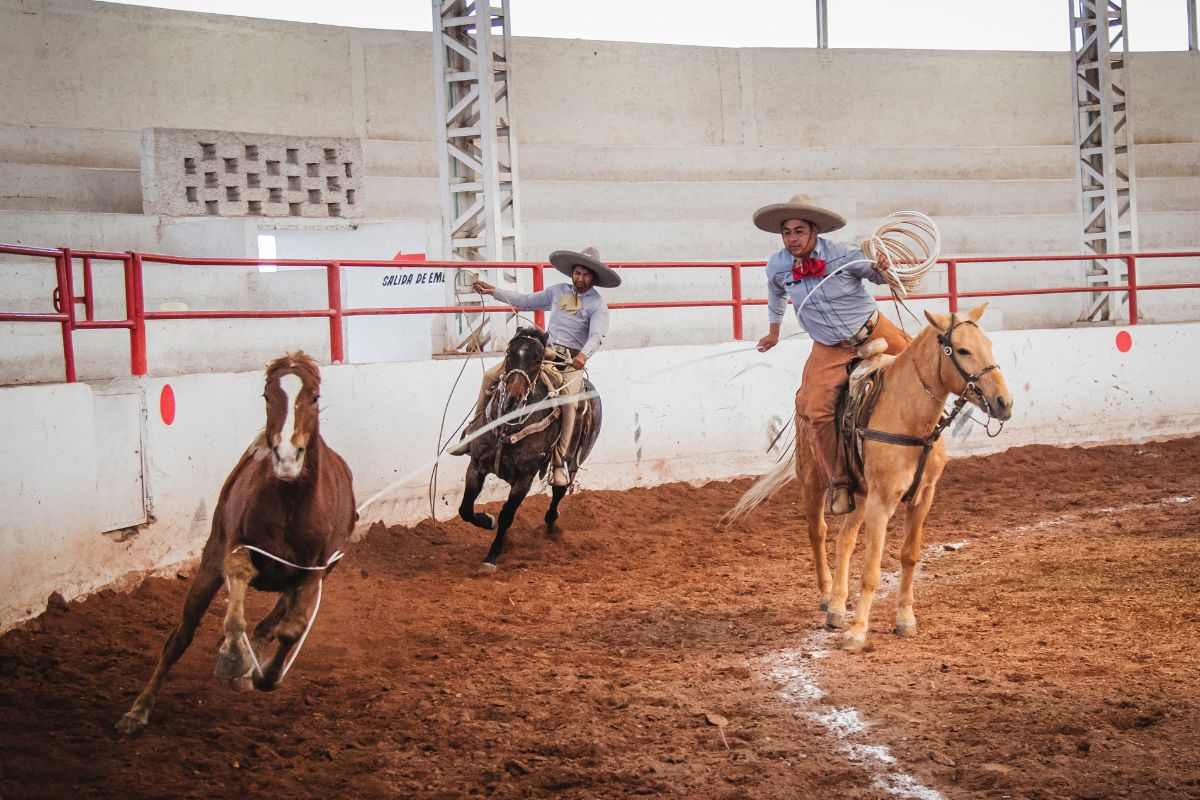
Ranchers and cowboys still use lassos for work, but they are also popular among rope artists and performers. Many rodeos feature lassoing events, and even competitive leagues are devoted to this skill.
How to Hold a Lasso
The first step in learning how to throw a lasso for beginners is to master the basic grip. To do this, hold the lasso in your dominant hand with the loop end pointing down.
Wrap the lasso around your wrist a few times to secure it, then grip the rope above the loop with your other hand. This is the hand that you will use to throw the lasso.
Now that you have a firm grip on the lasso, it’s time to learn the basic throwing motion.
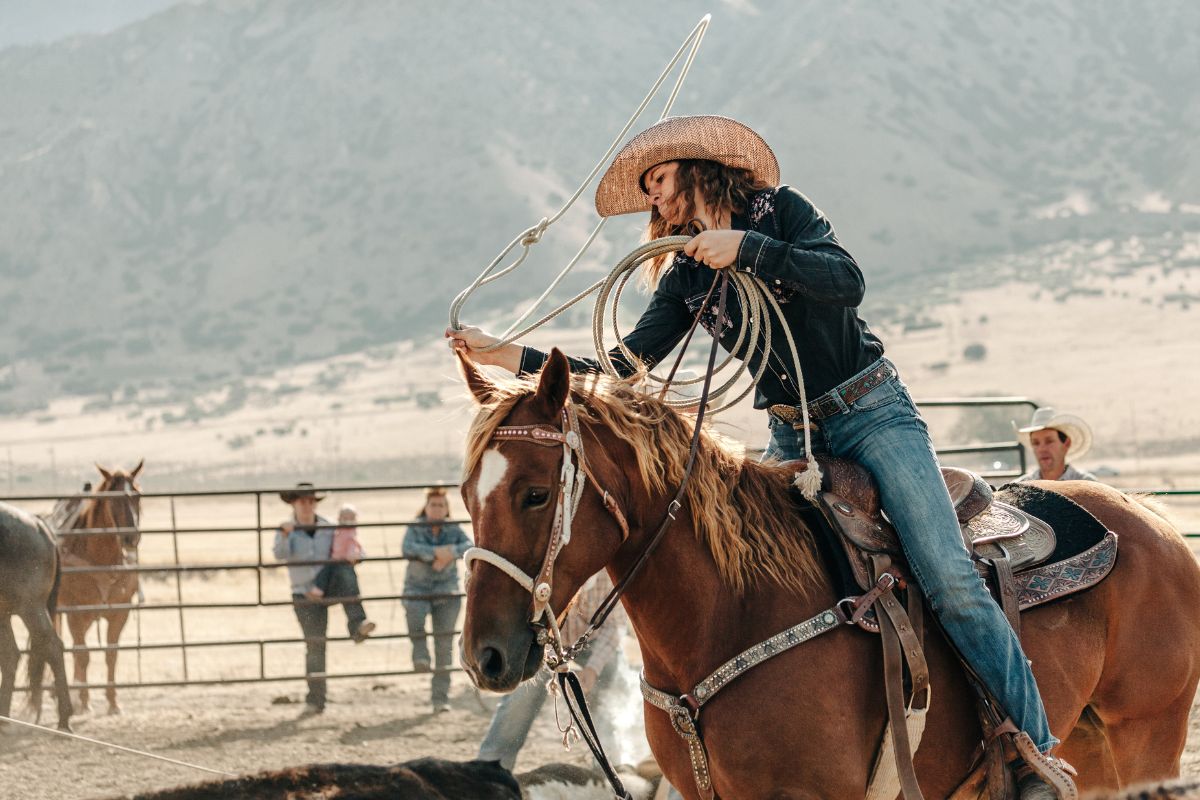
How to Throw a Lasso
Here are simple steps on how to throw a lasso rope.
Step 1: Hold onto your lasso.
You can’t throw your lasso if you don’t have a good grip on it. If you grab the slack end of the rope and start swinging, the tension will pull the loop shut before you can even release it. Therefore, using a grip that keeps your lasso open as you gain momentum is crucial.
To create a large loop, feed the slack through your Honda knot and lay down the excess rope next to the loop. Next, grab the curl and length of slack rope together – this will create a “doubled-up” portion of the cord between the Honda knot and your hand, called the “shank.” For extra control, point your index finger toward the Honda knot down the shank.
Step 2: Swing the rope around your head by twirling your wrist.
Grab the rope’s end and start swinging it in a circle above your head, ensuring you don’t hit yourself. Swing quickly enough that it’s easy to keep the loop horizontal, but not so fast that you can’t control it.
Step 3: Let go of the rope when you feel it swinging forward.
The technique for throwing a lasso is different from pitching a baseball. With a lasso, it is more important to release the rope at the right moment rather than focus on propelling it forward. As the weight of the loop swing ahead, try to let go of the cord. This is necessary when the loop has swung to your side.
After you’ve thrown the lasso, release your grip on the loop while maintaining control of the rope. This will allow you to tighten your lasso as needed.
Step 4: To capture your target, tighten your lasso.
After you’ve looped the rope around whatever object you’re trying to catch, pull on the rope with significant force. This will cause the slack in the loop to travel through the Honda knot, effectively tightening the lasso and securing your object.
Unless you have experience, please don’t use a lasso on people or animals, as it might cause them to suffocate or damage their throats. Also, once you or someone (or something) gets roped with a lasso, it’s hard for them to remove the rope without help. Therefore, only run this risk if you know what you’re doing.
How to Tie a Lasso
This guide will show you how to tie a lasso with a Honda knot, which is one of the most effective ways to secure your rope.
Step 1: Grab a length of rope.
The length of the rope you use for a lasso doesn’t need to be precise as long as it’s long enough to tie your knot, form the loop, and twirl it over your head. Excess rope can always be coiled up and brought with you. In general, 30 feet (9.1 m) is more than sufficient for adults; however, children may do better with a shorter length.
If you’re only practicing, any rope can work. But if you plan to use your lasso for an activity, get a thin, tough, and somewhat stiff rope. Even though stiffness makes the cord trickier to tie at first, it’s a good quality because you can “push” the rope to change to your loop’s size.
Step 2: Make an overhand knot, but don’t pull it too tight.
The first step to lassoing is making a simple overhand knot. You’re probably familiar with this type of knot from your everyday life; it’s the most basic kind of knot. To make one, you need to create a loop in your rope, then pass an end of the rope through the loop.
Keep this knot loose – you’ll need to adjust it in the next few steps. Make sure there’s lots of slack when you do it so that you can easily work with it. When done, your rope should resemble a large “O,” and the knot should be at the bottom.
Step 3: Take the rope’s end and thread it through the hole created by the knot.
Hold the rope’s shorter “tail” end in your hand. Wrap this section of cord around and over your “O” loop. Thread this section through itself and the outside edge of the “O” portion of the overhand knot. Pulling on the rope, thread it about 6 inches (15.2 cm) in total – this will form a new loop that becomes base support for your lasso.
Step 4: Tighten your knot without pulling the tail end through.
Take the slack end of the rope (the part you’ll hold to throw your lasso) and pull on it to tighten the new loop. As you tie this lasso knot, ensure the rope’s tail end is not accidentally pass through the hole in the center. You know you’re done when there’s a tight knot at the bottom with a small loop (and the extra rope hangs down from that knot). They call it a Honda knot.
Step 5: Take the slack end of your rope and thread it through the Honda knot.
Lastly, take the long excess rope and put it through the tiny loop you made with the Honda knot. This will form a lasso. To use it, grip the slack end of the rope and pull. Doing this will tighten the noose around whatever you’re trying to grab.
Step 6: You can tie a stopper knot to prevent the bead from coming off.
You can stop here if you’re making a lasso for show or personal amusement. If you plan to use it, tying one extra knot will make your lasso stronger and simpler to utilize.If you don’t want your lasso undone, tie a tight overhand knot at the end of the tail. This will prevent the short tail end from being pulled back through the Honda knot and ruining your lasso altogether.
How to Make a Lariat
Many children dream of growing up to be cowboys. They imagine themselves riding bucking broncos, chasing down outlaws, and roping cattle.
While the modern West is very different from the Old West depicted in movies, a cowboy is only as good as his horse and lariat. Nowadays, you can buy a new lariat over the internet, but there was a time when cowhands made their lariats.
Below are steps showing how to make your lariat like the old-time cowboys used to do.
- Cut the rawhide that is half-tanned into strips that are half an inch wide. The hide should still have hair on one side.
- Soak the strips in water until they are soft, then stretch them over a block. Ensure you have covered the block completely before moving on to the next step.
- Braid the strips into a rope; make sure it is tight and about 30-40 feet long. If you are new to this activity, start with a shorter cord that is only 20-25 feet long. The thickness of your rope can vary from 3/8 an inch to 1/2 an inch; however, remember that the thicker the rope is, the more strength will be required to lasso something successfully.
- Bury the rope in the ground one to two feet down. Allow it to sit on the earth for two weeks so the rawhide softens. After two weeks, dig up the rope and stretch it tight over the block once again.
- Rub the hair off the lariat using sandpaper to make it smooth.
- For the lariat, use mutton tallow liberally.
- To start, make a Honda (or eye loop) knot at one end of the rope. The Honda should be three to four inches long. You can form an eye loop by tying a simple overhand knot and passing the cord through it. Then tie off the end to keep the Honda from pulling out.
- Create a loop with the rope by threading one end through the Honda. You have now created a lariat. The loop length will determine how far you can cast the lariat. It would help if you practiced using your new lariat to become skilled at roping.
As you can see, making a lariat is a simple task. With a little patience and practice, anyone can learn to make one.
So, the next time you watch a cowboy movie, remember that those lariats were once just pieces of rawhide that someone took the time to fashion into a working lariat.
How to Make a Lasso
To make a lasso, you will need the following:
- A length of rope at least 10 feet (3.08 meters) long
- A knife
- A piece of leather (optional)
Instructions
- Cut the rope to the desired length. The length of the cord will determine how far you can cast the lasso. A longer rope is better for catching larger animals, while a shorter cord is better for catching smaller animals or people.
- Tie a knot in one end of the rope to create a loop. This loop is called a Honda.
- If you are using a piece of leather, tie it around the rope at the point where you tied the Honda. This will help to weigh the lasso and make it easier to throw.
- To use the lasso, hold the other end of the rope in one hand and spin it around in a circle. When you release the rope, the Honda will fly through the air and wrap around the animal or person you are trying to catch.
Learning to make a lasso is useful for anyone who works with animals, such as ranchers or veterinarians. You can also use it for recreational purposes, such as roping cattle at a rodeo. With practice, anyone can learn to make a lasso and become a skilled roper. With a little practice, you can throw your lasso with accuracy and confidence.
How to Learn to Rope
You can do a few things if you want to learn how to rope like a cowboy (or cowgirl):
- Practice at home with a long length of rope. Get a feel for the weight and movement of the rope.
- Try taking some lessons from a professional roper. You can also find instructional videos online.
- Practice, practice, practice!
The more you do it, the better you’ll become at roping.
FAQS
What Kind of Knot is Used to Make a Lasso?
The Honda, or eye loop knot, is typically used to make a lasso.
How Long Should the Rope Be for a Lasso?
The length of the rope will determine how far you can cast the lasso. A longer rope is better for catching larger animals, while a shorter rope is better for catching smaller animals or people.
How Do I Weigh the Lasso?
If you are using a piece of leather, tie it around the rope at the point where you tied the Honda. This will help to weigh the lasso and make it easier to throw.
The Final Say
Cowboys and cowgirls have used this technique for centuries to wrangle cattle. So there you have it, the ins and outs of throwing a lasso. It may take a little practice, but lassoing will be easy once you get the hang of it.
Now that you know how to do it, impress your friends (and enemies) with your new-found skills. Just be careful not to rope yourself in!